[JS] Level 1(1)
[JavaScript 입문과 웹 UI개발] codingapple.com
[JS] Level 1(1)
자바스크립트 기초강의인데 이걸 어디다 쓰냐면
개발환경 셋팅
- 에디터: VSCode, Brackets 등
- index.html 파일 생성 > html 기본 템플릿(‘!’치고 Enter)
- VScode 미리보기: Live server extension 설치 > 파일 우클릭 후 Open with Live Server 클릭
자바스크립트 쓰는 목적
- HTML 조작
- 서버와 통신가능, 클릭 및 타이핑 감지, 비동기처리, 자료다루기
- 머신러닝
- 서버만들기 등
JS로 HTML 조작하는 법
- html 문서 내
<script>태그에 작성 - 바꿀요소id / 무엇을 / 어떻게
- 셀렉터: id 등 이용해 html 요소 찾는데 활용
1
2
3
4
5
6
7
8
9
10
11
12
13
14
15
16
17
18
19
  <!DOCTYPE html>
  <html lang="en">
  <head>
      <meta charset="UTF-8">
      <meta name="viewport" content="width=device-width, initial-scale=1.0">
      <title>Document</title>
  </head>
  <body>

      <h1 id="hello">안녕하세요</h1>

      <script>
          document.getElementById('hello').innerHTML = '안녕';
          document.getElementById('hello').style.color = 'blue';
          document.getElementById('hello').style.fontSize = '16px';
      </script>

  </body>
  </html>
img

동적 UI 만드는 스텝 (Alert 박스 만들기)
UI 만드는 step
- 케이스 스터디 식으로 배울 수 있으나 직접 만드는 훈련
- 무수한 UI를 위해
- HTML/CSS로 미리 디자인
- 필요할 때 해당 UI 띄우는 코드를 자바스크립트로 짬
Alert 박스 만들기 step 1
- HTML/CSS로 미리 디자인
index.html1 2 3
<body> <div class="alert-box">알림창</div> </body>
main.css- 숨기고 싶다면
display: none;1 2 3 4 5 6 7
.alert-box { background-color: skyblue; padding: 20px; color: white; border-radius: 5px; display: none; }
- 숨기고 싶다면
Alert 박스 만들기 step 2
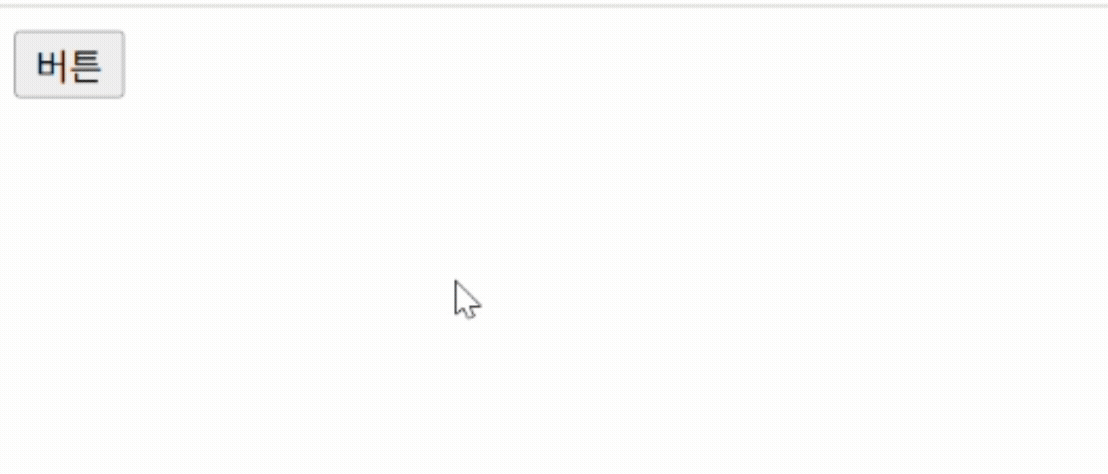
- 버튼 누를 시 UI를 보여달라고 코드 짜기
main.css1
<button onclick="document.getElementById('alert').style.display = 'block';">버튼</button>
- img
- 알림창 닫기버튼과 기능(숙제)
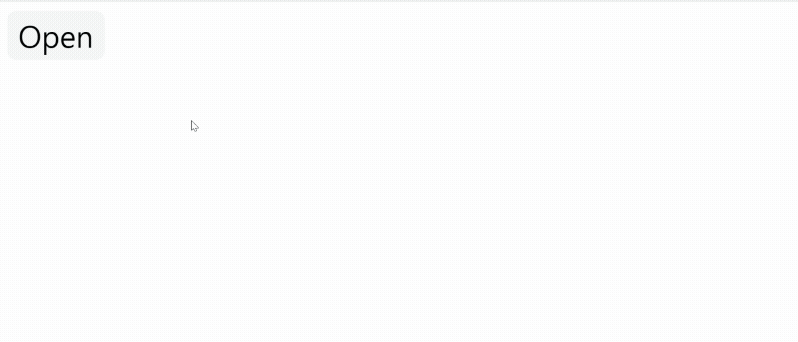
- 부트스트랩 적용 후 디자인 추가
index.html1 2 3 4 5 6 7 8 9 10 11 12 13 14 15 16 17 18 19 20
<!DOCTYPE html> <html lang="en"> <head> <meta charset="UTF-8"> <meta name="viewport" content="width=device-width, initial-scale=1.0"> <title>Document</title> <link rel="stylesheet" href="main.css"> <link href="https://cdn.jsdelivr.net/npm/bootstrap@5.3.3/dist/css/bootstrap.min.css" rel="stylesheet" integrity="sha384-QWTKZyjpPEjISv5WaRU9OFeRpok6YctnYmDr5pNlyT2bRjXh0JMhjY6hW+ALEwIH" crossorigin="anonymous"> </head> <body> <div class="alert-box" id="alert"> Alert <button class="button button-close" onclick="document.getElementById('alert').style.display = 'none';">X</button> </div> <button class="button button-open" onclick="document.getElementById('alert').style.display = 'block';">Open</button> <script src="https://cdn.jsdelivr.net/npm/bootstrap@5.3.3/dist/js/bootstrap.bundle.min.js" integrity="sha384-YvpcrYf0tY3lHB60NNkmXc5s9fDVZLESaAA55NDzOxhy9GkcIdslK1eN7N6jIeHz" crossorigin="anonymous"></script> </body> </html>
main.css1 2 3 4 5 6 7 8 9 10 11 12 13 14 15 16 17 18 19 20 21 22 23 24 25 26 27
.alert-box { background-color: #aacfd0; padding: 15px; border-radius: 3px; display: none; position: relative; } .button { border: 0; border-radius: 5px; justify-content: flex-start; margin: 5px; } .button-close { background-color: transparent; color: #1f4e5f; position: absolute; font-weight: bold; top: 8px; right: 10px; } .button-open { background-color: #f4f7f7 }
- img
자바스크립트 function 문법 사용법
function
- 코드 재사용에 편리
- 함수명 영어작명시엔 1. 소문자 시작, 2. camelCase
- 스크립트는 조작할 html의 하단에 작성
function 이용해 축약
index.html1 2 3 4 5 6 7 8 9 10 11 12 13 14 15 16 17 18 19
<body> <div class="alert-box" id="alert"> Alert <button class="button button-close" onclick="buttonClose()"><i class="bi bi-x-lg"></i></button> </div> <button class="button button-open" onclick="buttonOpen()">Open</button> <script src="https://cdn.jsdelivr.net/npm/bootstrap@5.3.3/dist/js/bootstrap.bundle.min.js" integrity="sha384-YvpcrYf0tY3lHB60NNkmXc5s9fDVZLESaAA55NDzOxhy9GkcIdslK1eN7N6jIeHz" crossorigin="anonymous"> function buttonOpen(){ document.getElementById('alert').style.display = 'block'; } function buttonClose(){ document.getElementById('alert').style.display = 'none'; } </script> </body>
This post is licensed under CC BY 4.0 by the author.